Setting Up Firebase Tables
Our React Native apps use Firebase as the default backend. The app interacts with Firebase Firestore for data operations, utilizing several collections to structure data like users, vendors, professionals, and categories. You can find the collection names in src/config/index.js.
tables: {
vendorsTableName: 'appointments_vendors',
vendorReviewsTableName: 'appointments_reviews',
vendorProductsTableName: 'users',
bookingsTableName: 'appointments_bookings',
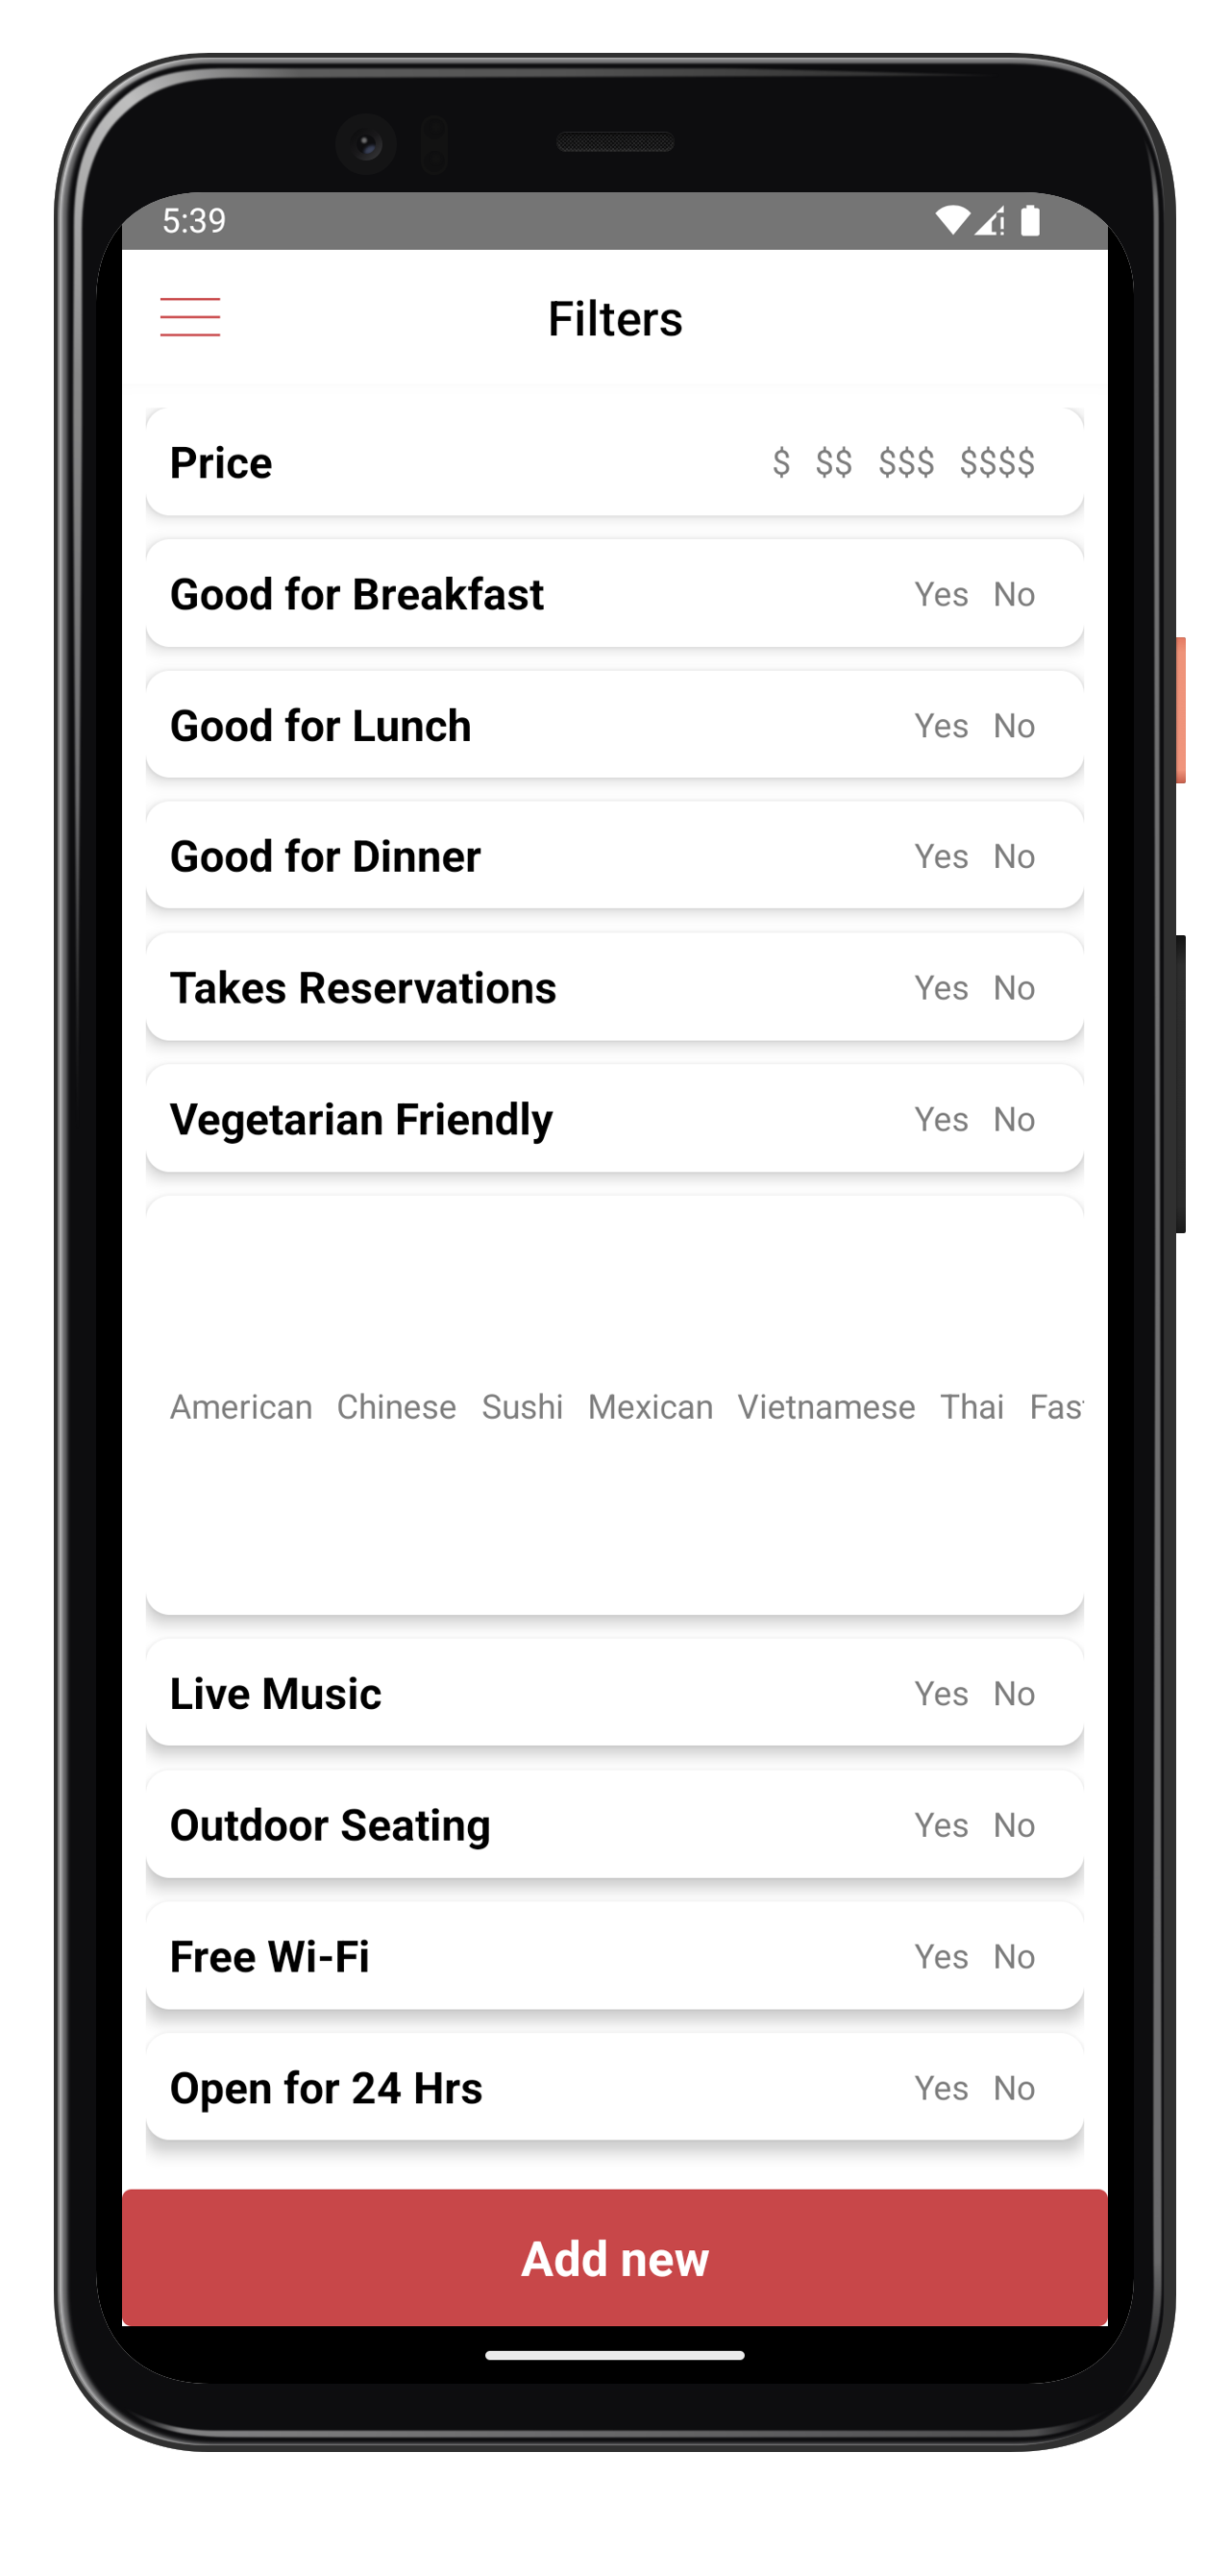
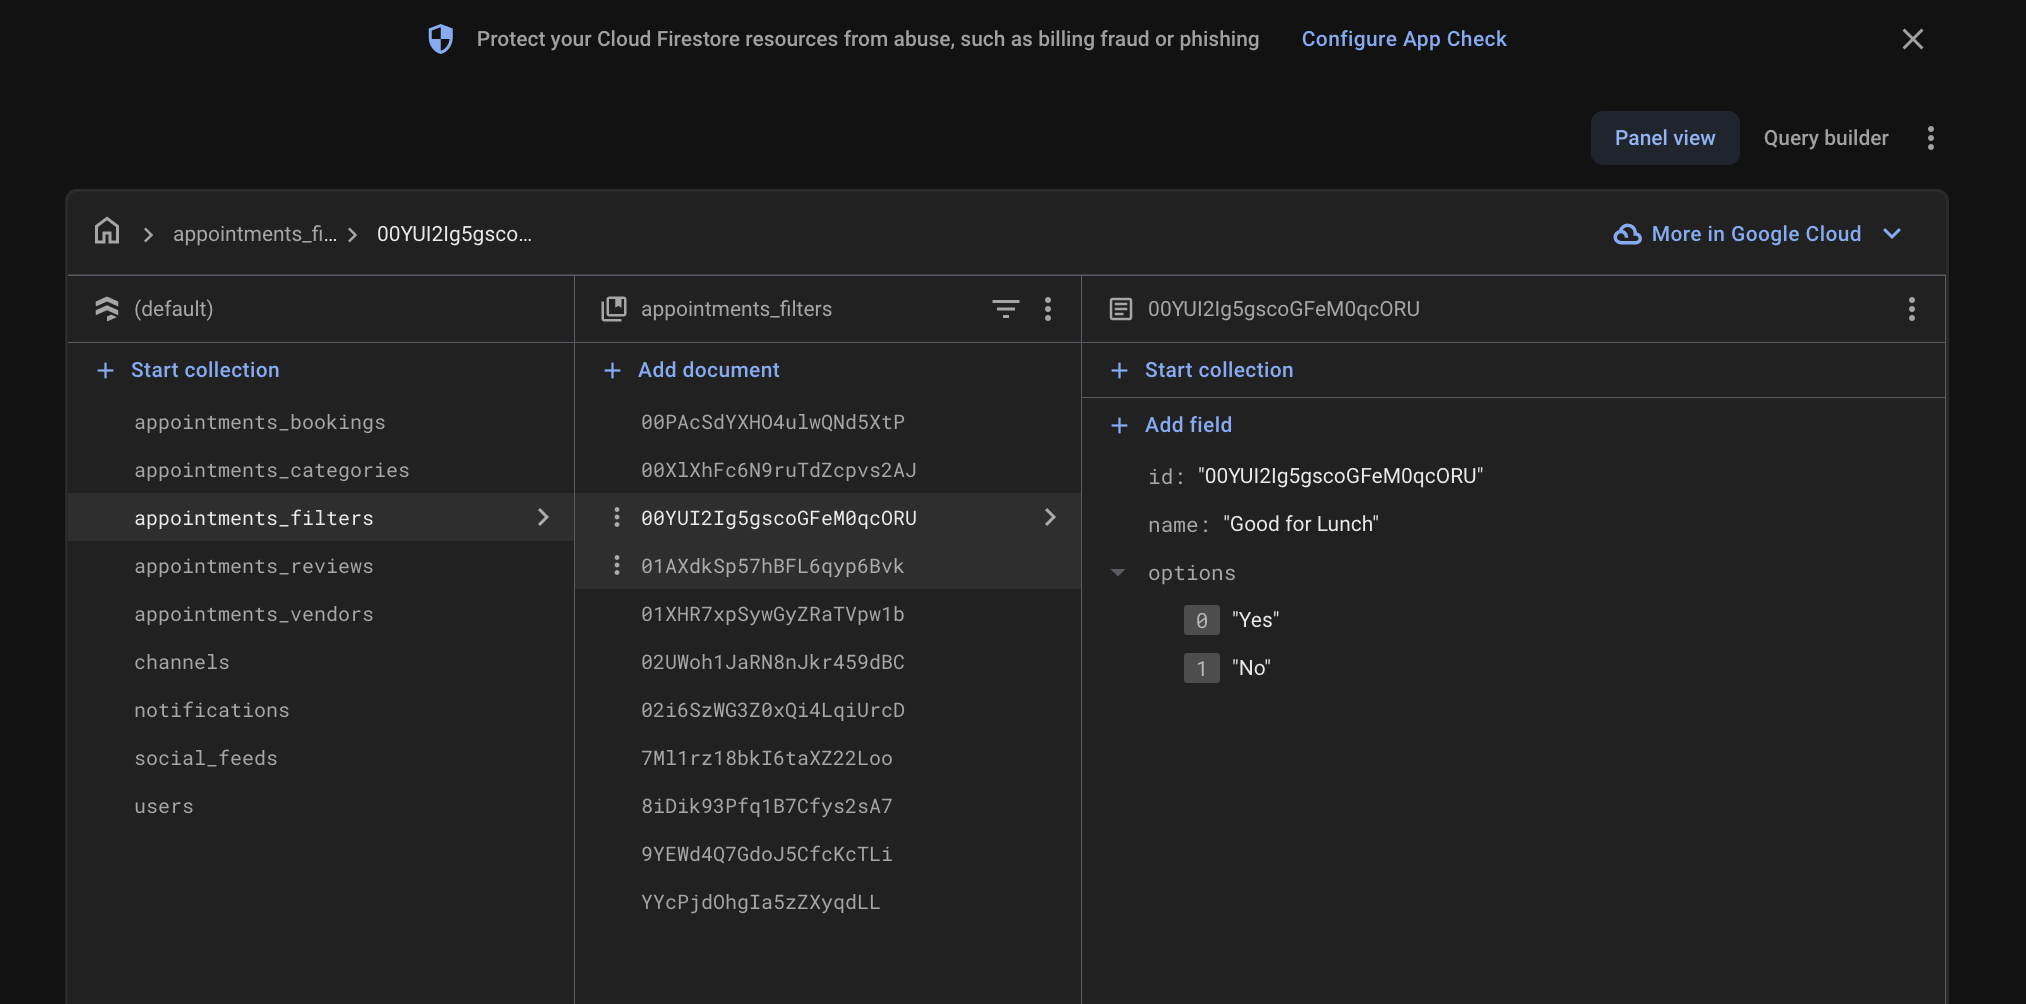
vendorFilterTableName: 'appointments_filters',
vendorCategoriesTableName: 'appointments_categories',
},
While most data gets populated through user interactions, there are some initial setup steps required:
Creating Categories and Filters in Firestore
Option A: Using the Admin Interface
If you're using our 3-in-1 variant of the booking app, you can add categories and filters directly through the admin interface.
Option B: Manual Setup
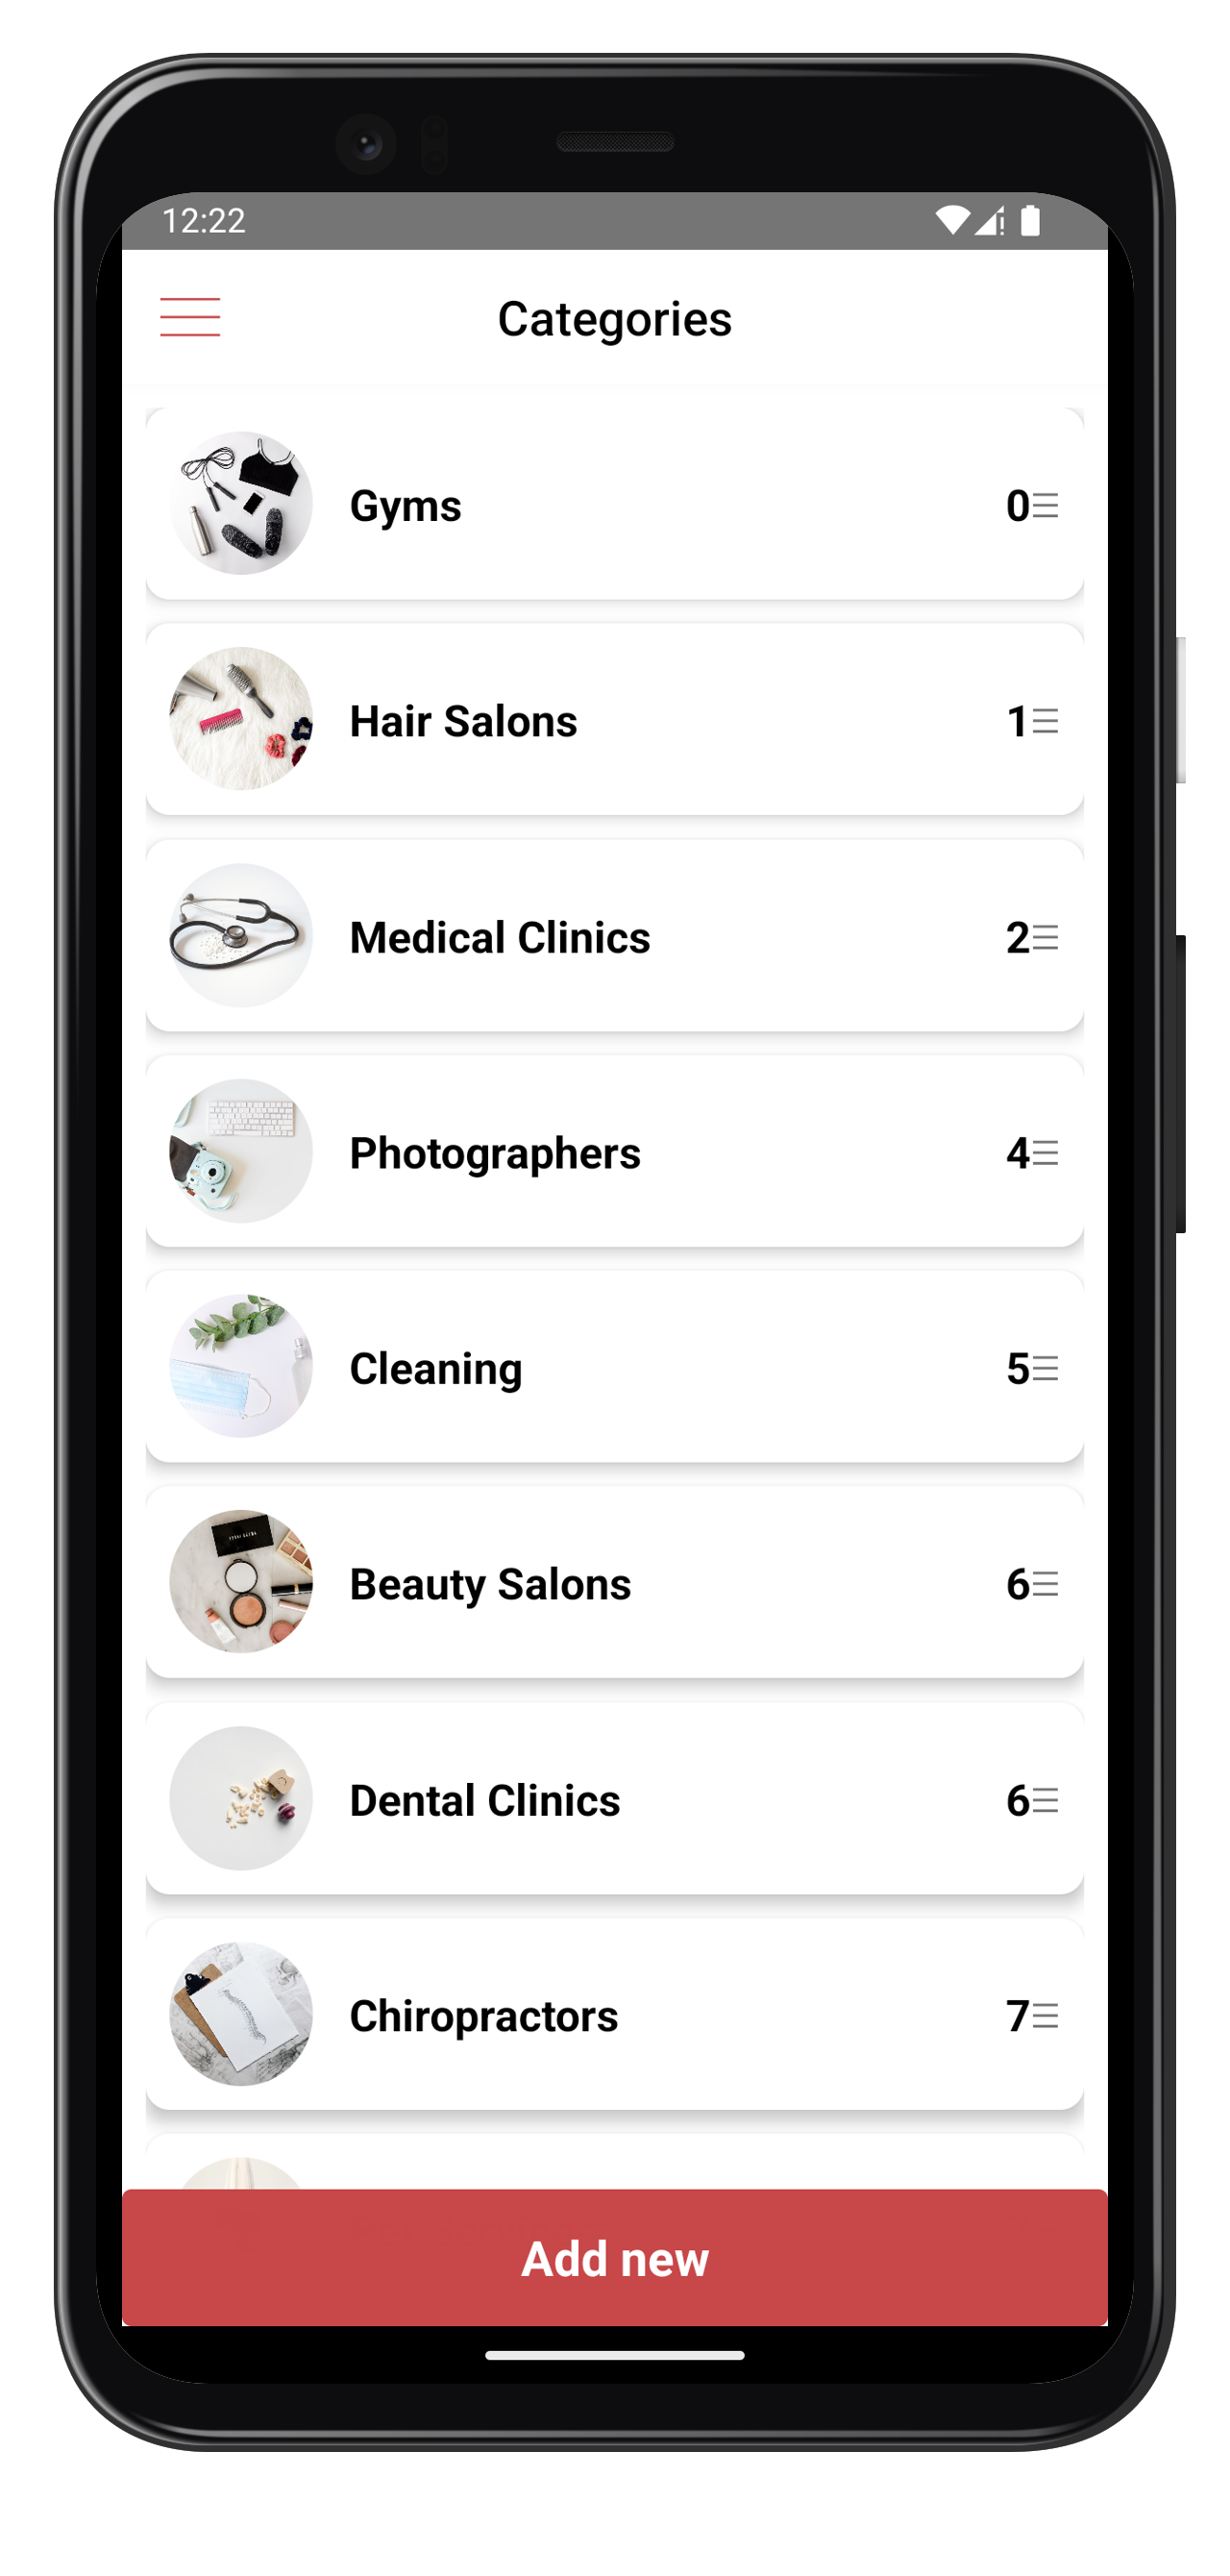
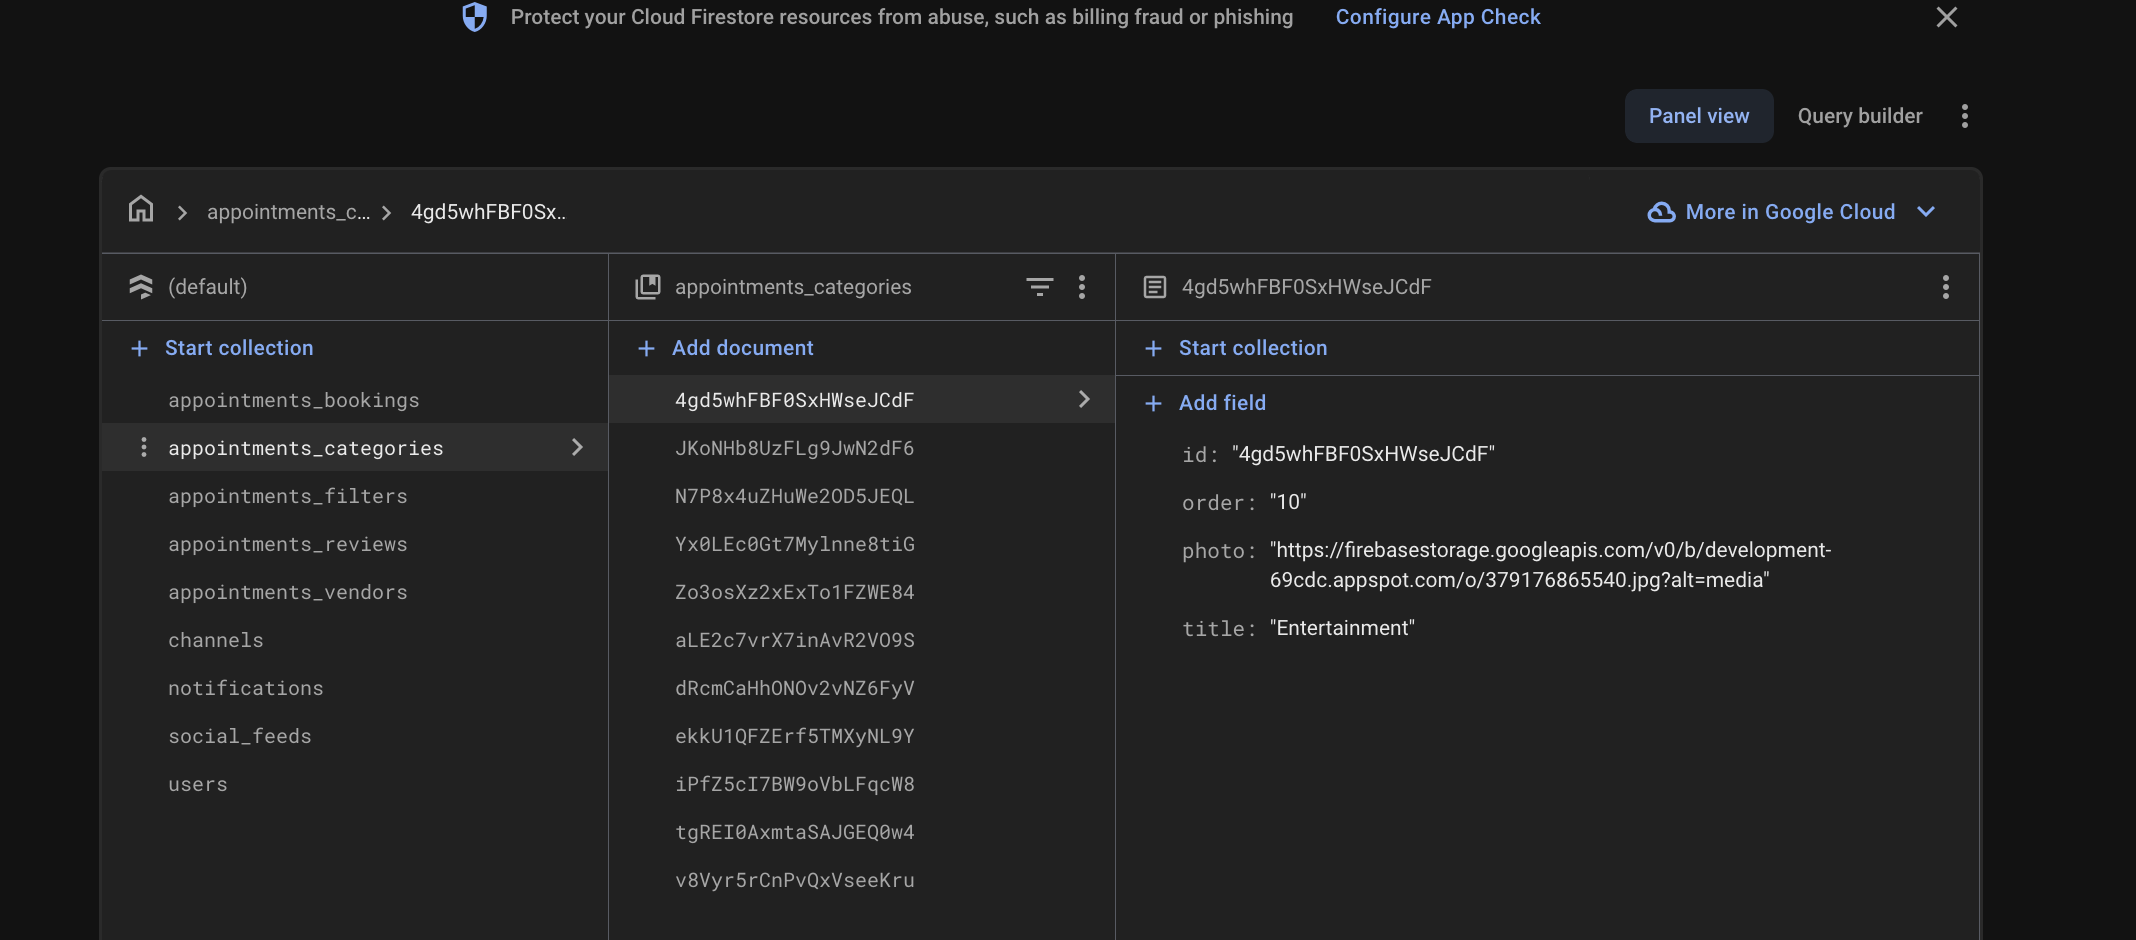
For manual setup, you'll need to populate the appointments_categories collection. Each category document should have the following fields:
id: Unique identifierorder: Display orderphoto: Image URLtitle: Category name
Option C: Automated Import
To save time, you can import the provided appointments_categories.json file from the DataSeed folder. Follow our data seeding guide for detailed instructions.
Vendor Setup
Note: If you're not using multi-vendor mode, set
isMultiVendorEnabledtofalseinAppConfig.jsand skip this section.
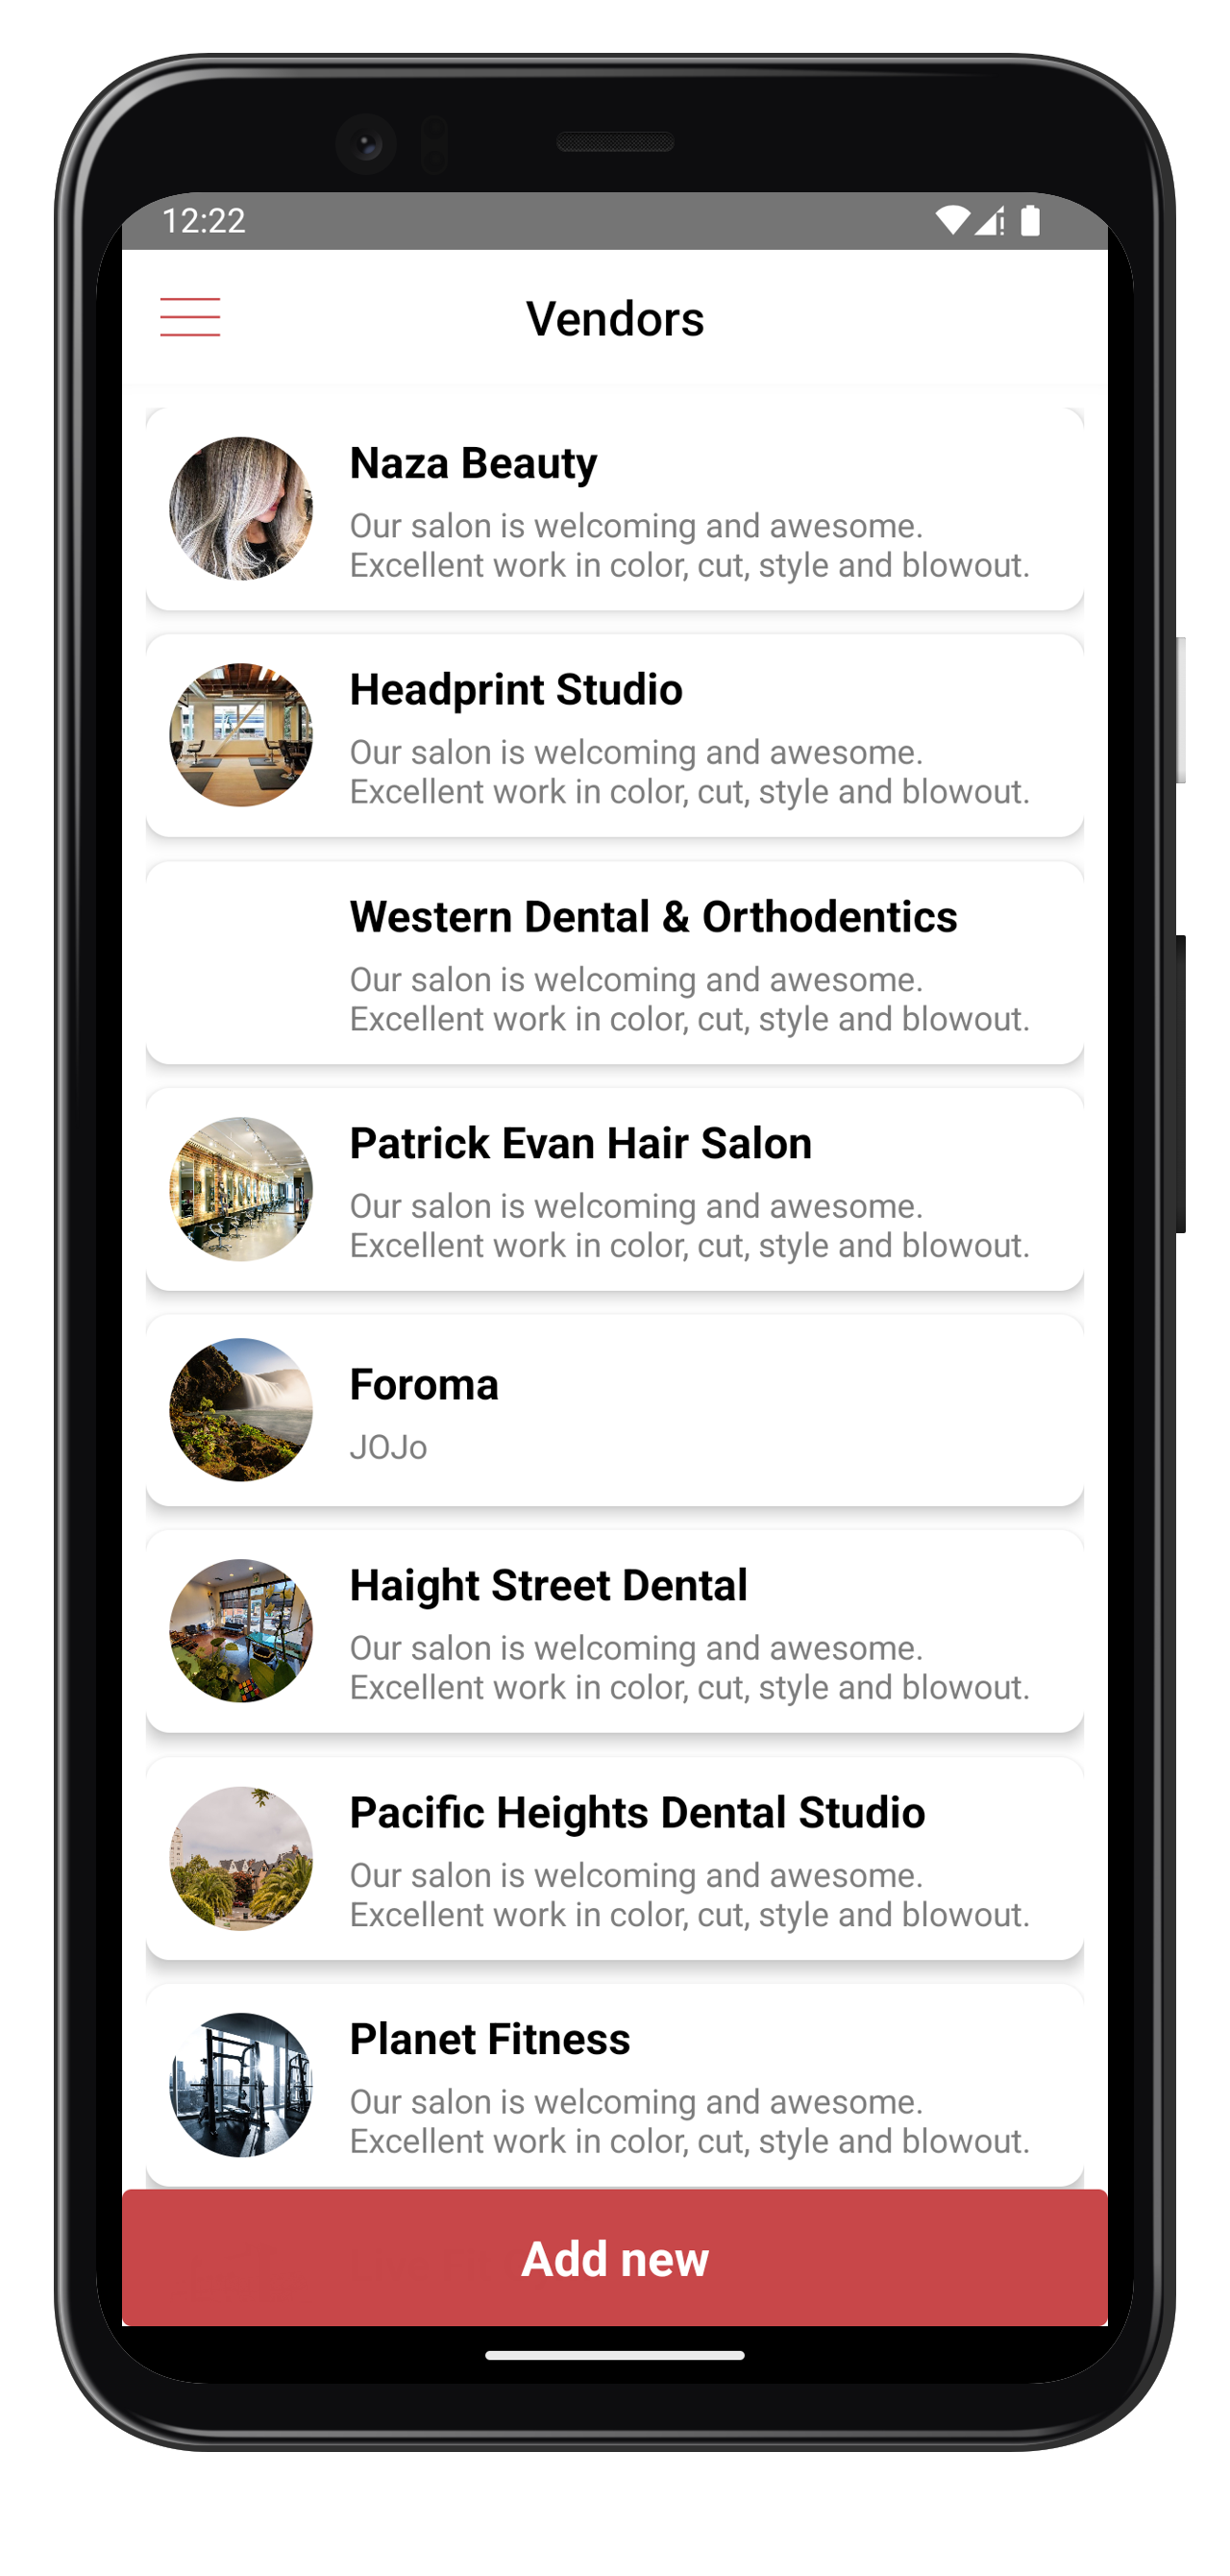
For multi-vendor mode, you'll need to populate the appointments_vendors collection with your vendor data.
Adding Vendors
Method 1: Using the Admin Interface
- Add vendors through the admin panel
- Next have the vendor signup, afterwards the locate this user in the
userscollection, add the below fields to it:role: Set to "vendor" (string)vendorID: Link to the corresponding vendor document ID created. (string)
Method 2: Manual Import
Import the appointments_vendors.json file from the DataSeed folder using our import guide.
Vendor Document Structure


Required fields:
idphototitlelocationcategoryID
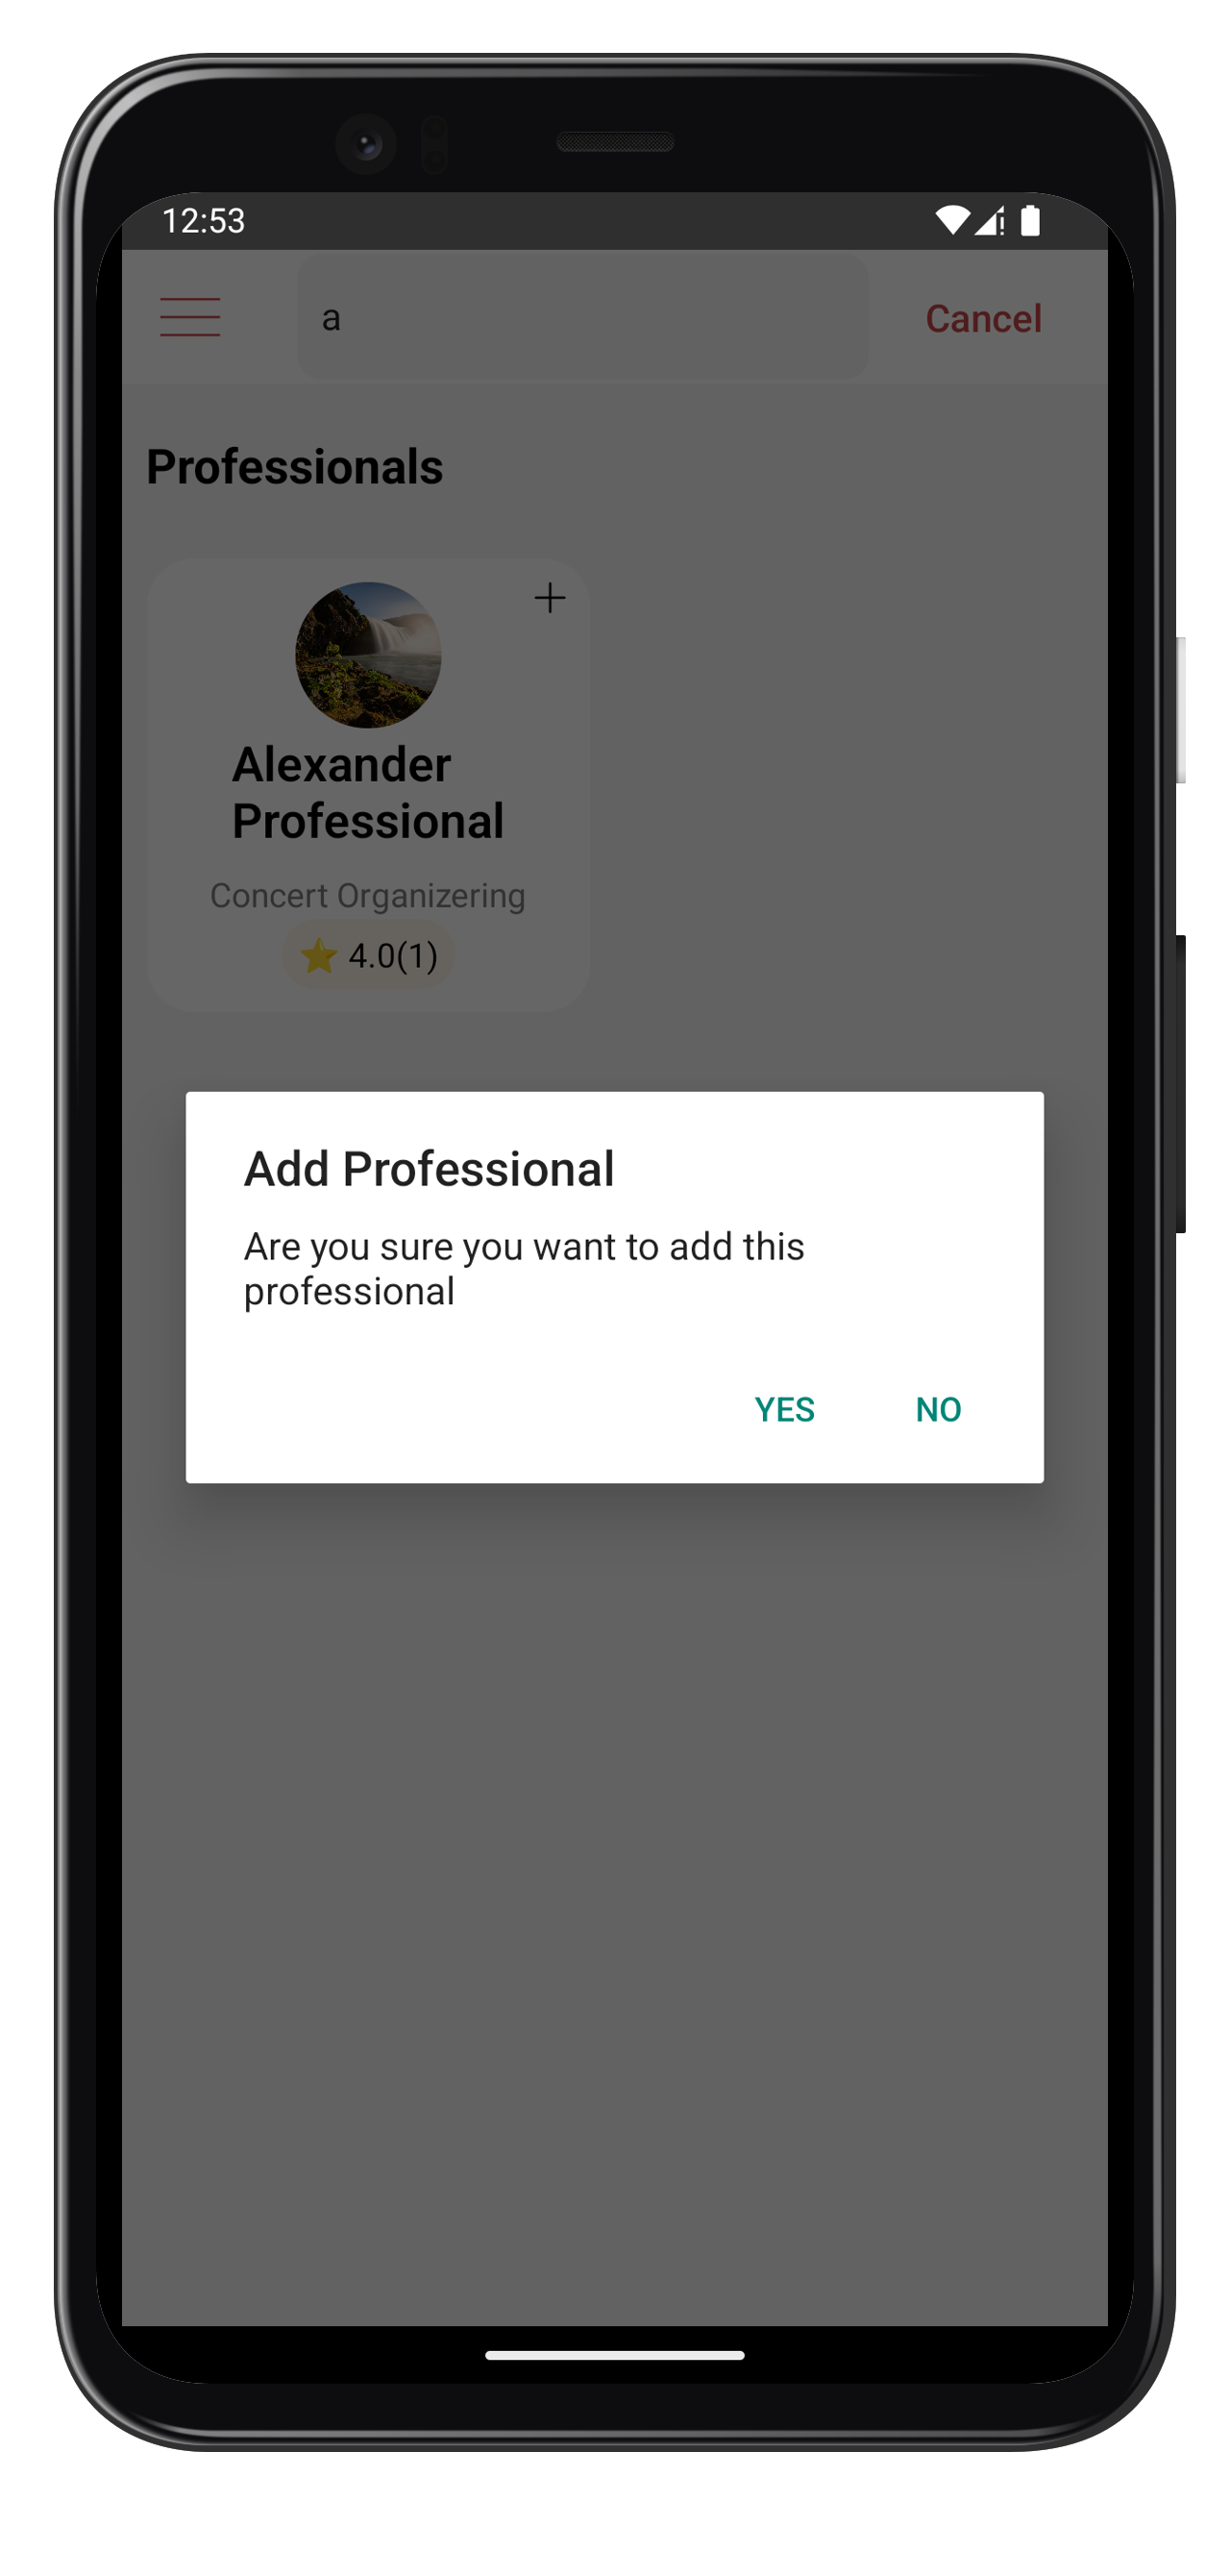
Adding Professional as vendor
- After sucessfull login the vendor can search and add professionals that will be working under this vendor.
Professional Setup
Now that categories and vendors are set up, you can start adding professionals to your app. Professionals are regular users, who can sign up, login and logout, so all their data gets stored into the same table as regular consumers: the users collection in Firestore. Once a professional creates an account, it will show up automatically in the users collection.
Setting Up a Professional Account
-
Create a regular user account for the professional
-
In Firestore, locate their document in the
userscollection -
Update the following fields:
role: Set to "professional"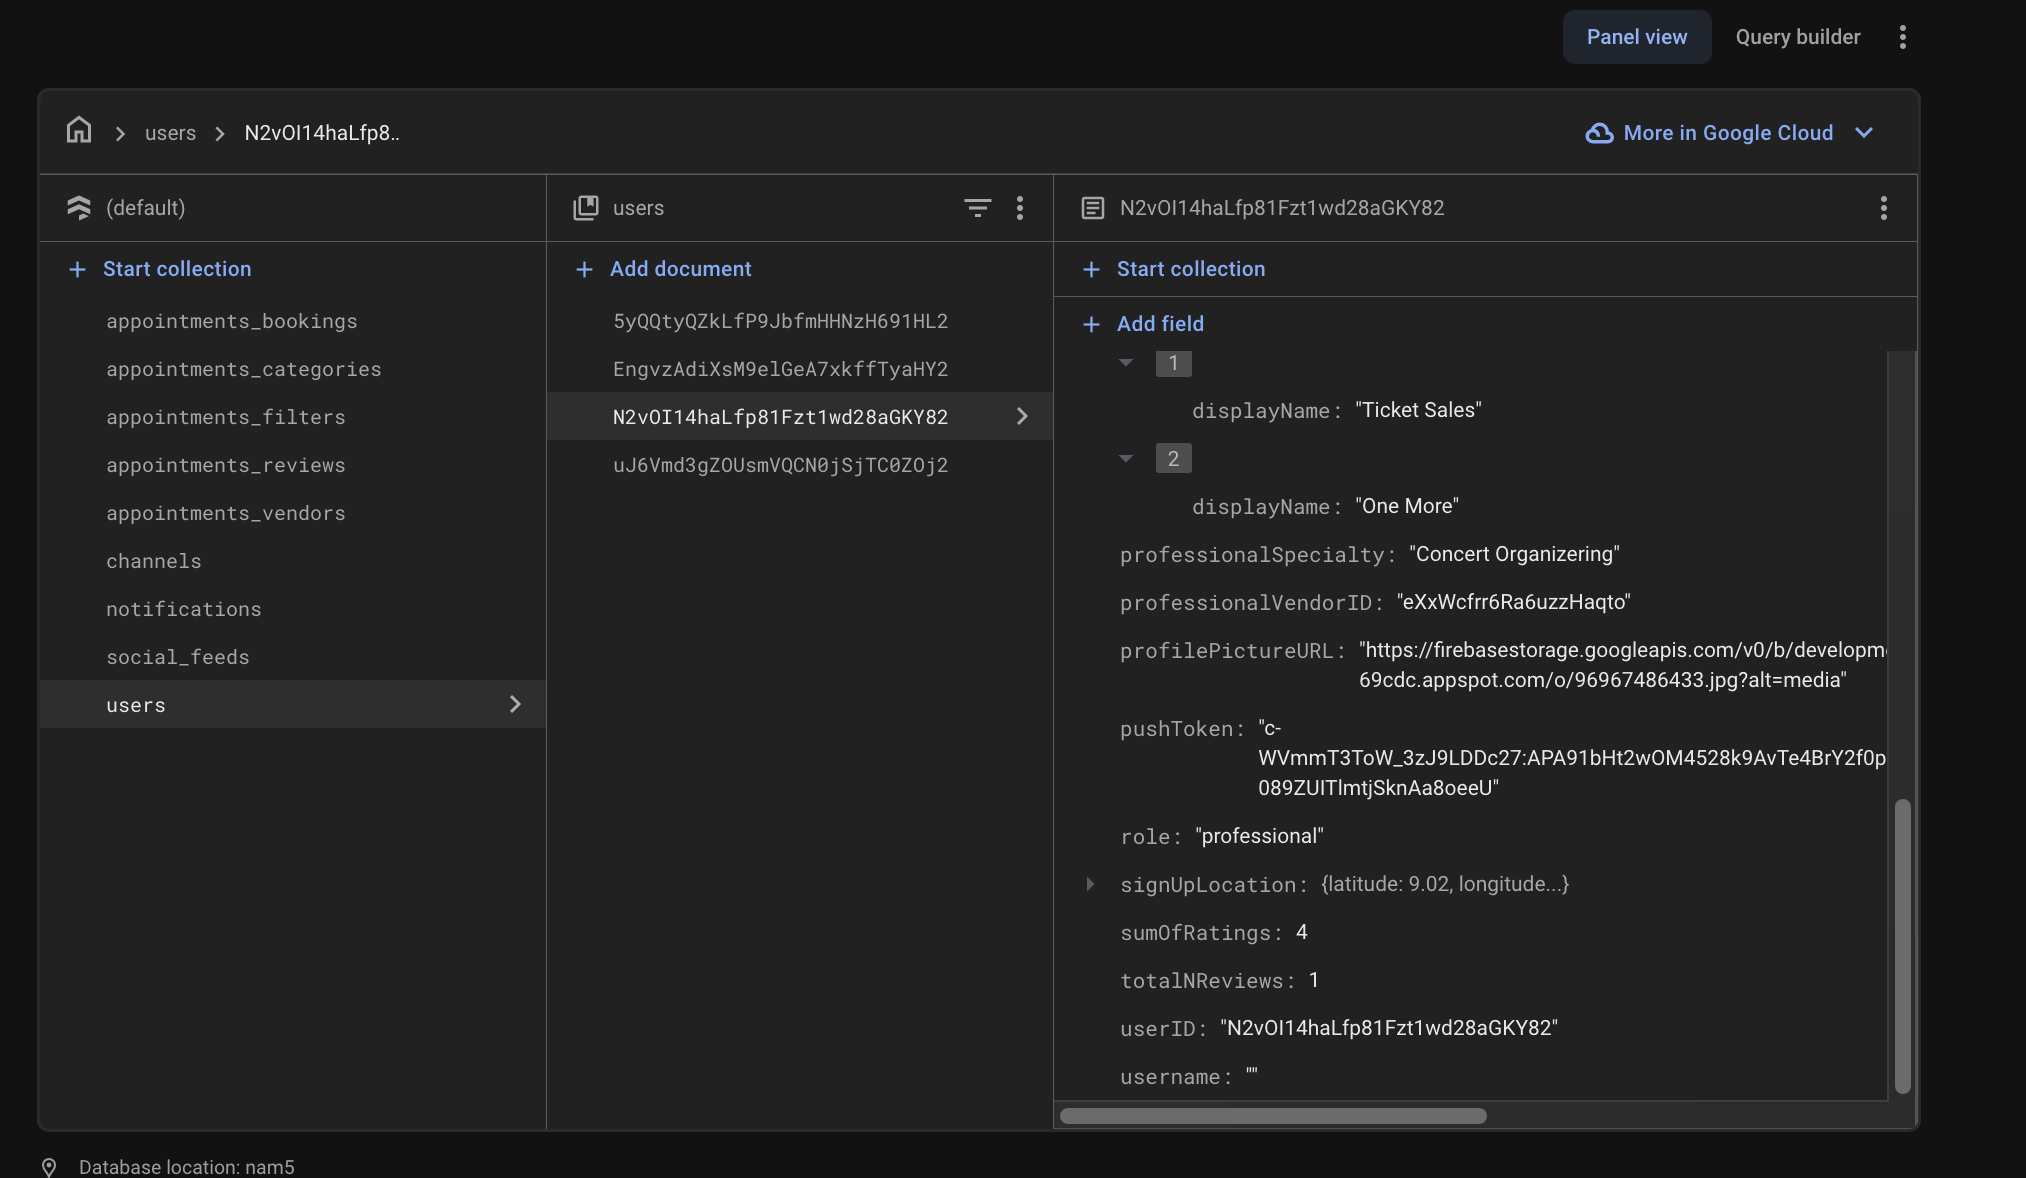
-
Add mode-specific fields:
- For multi-vendor mode:
- Add
professionalVendorID: ID of their associated vendor. (This can be done manually or the vendor manager can add a professional and this field is automatically added with the vendor's ID).
- Add
- For single-vendor mode:
- Add
professionalCategoryID: ID of their service category
- Add
- For multi-vendor mode:
-
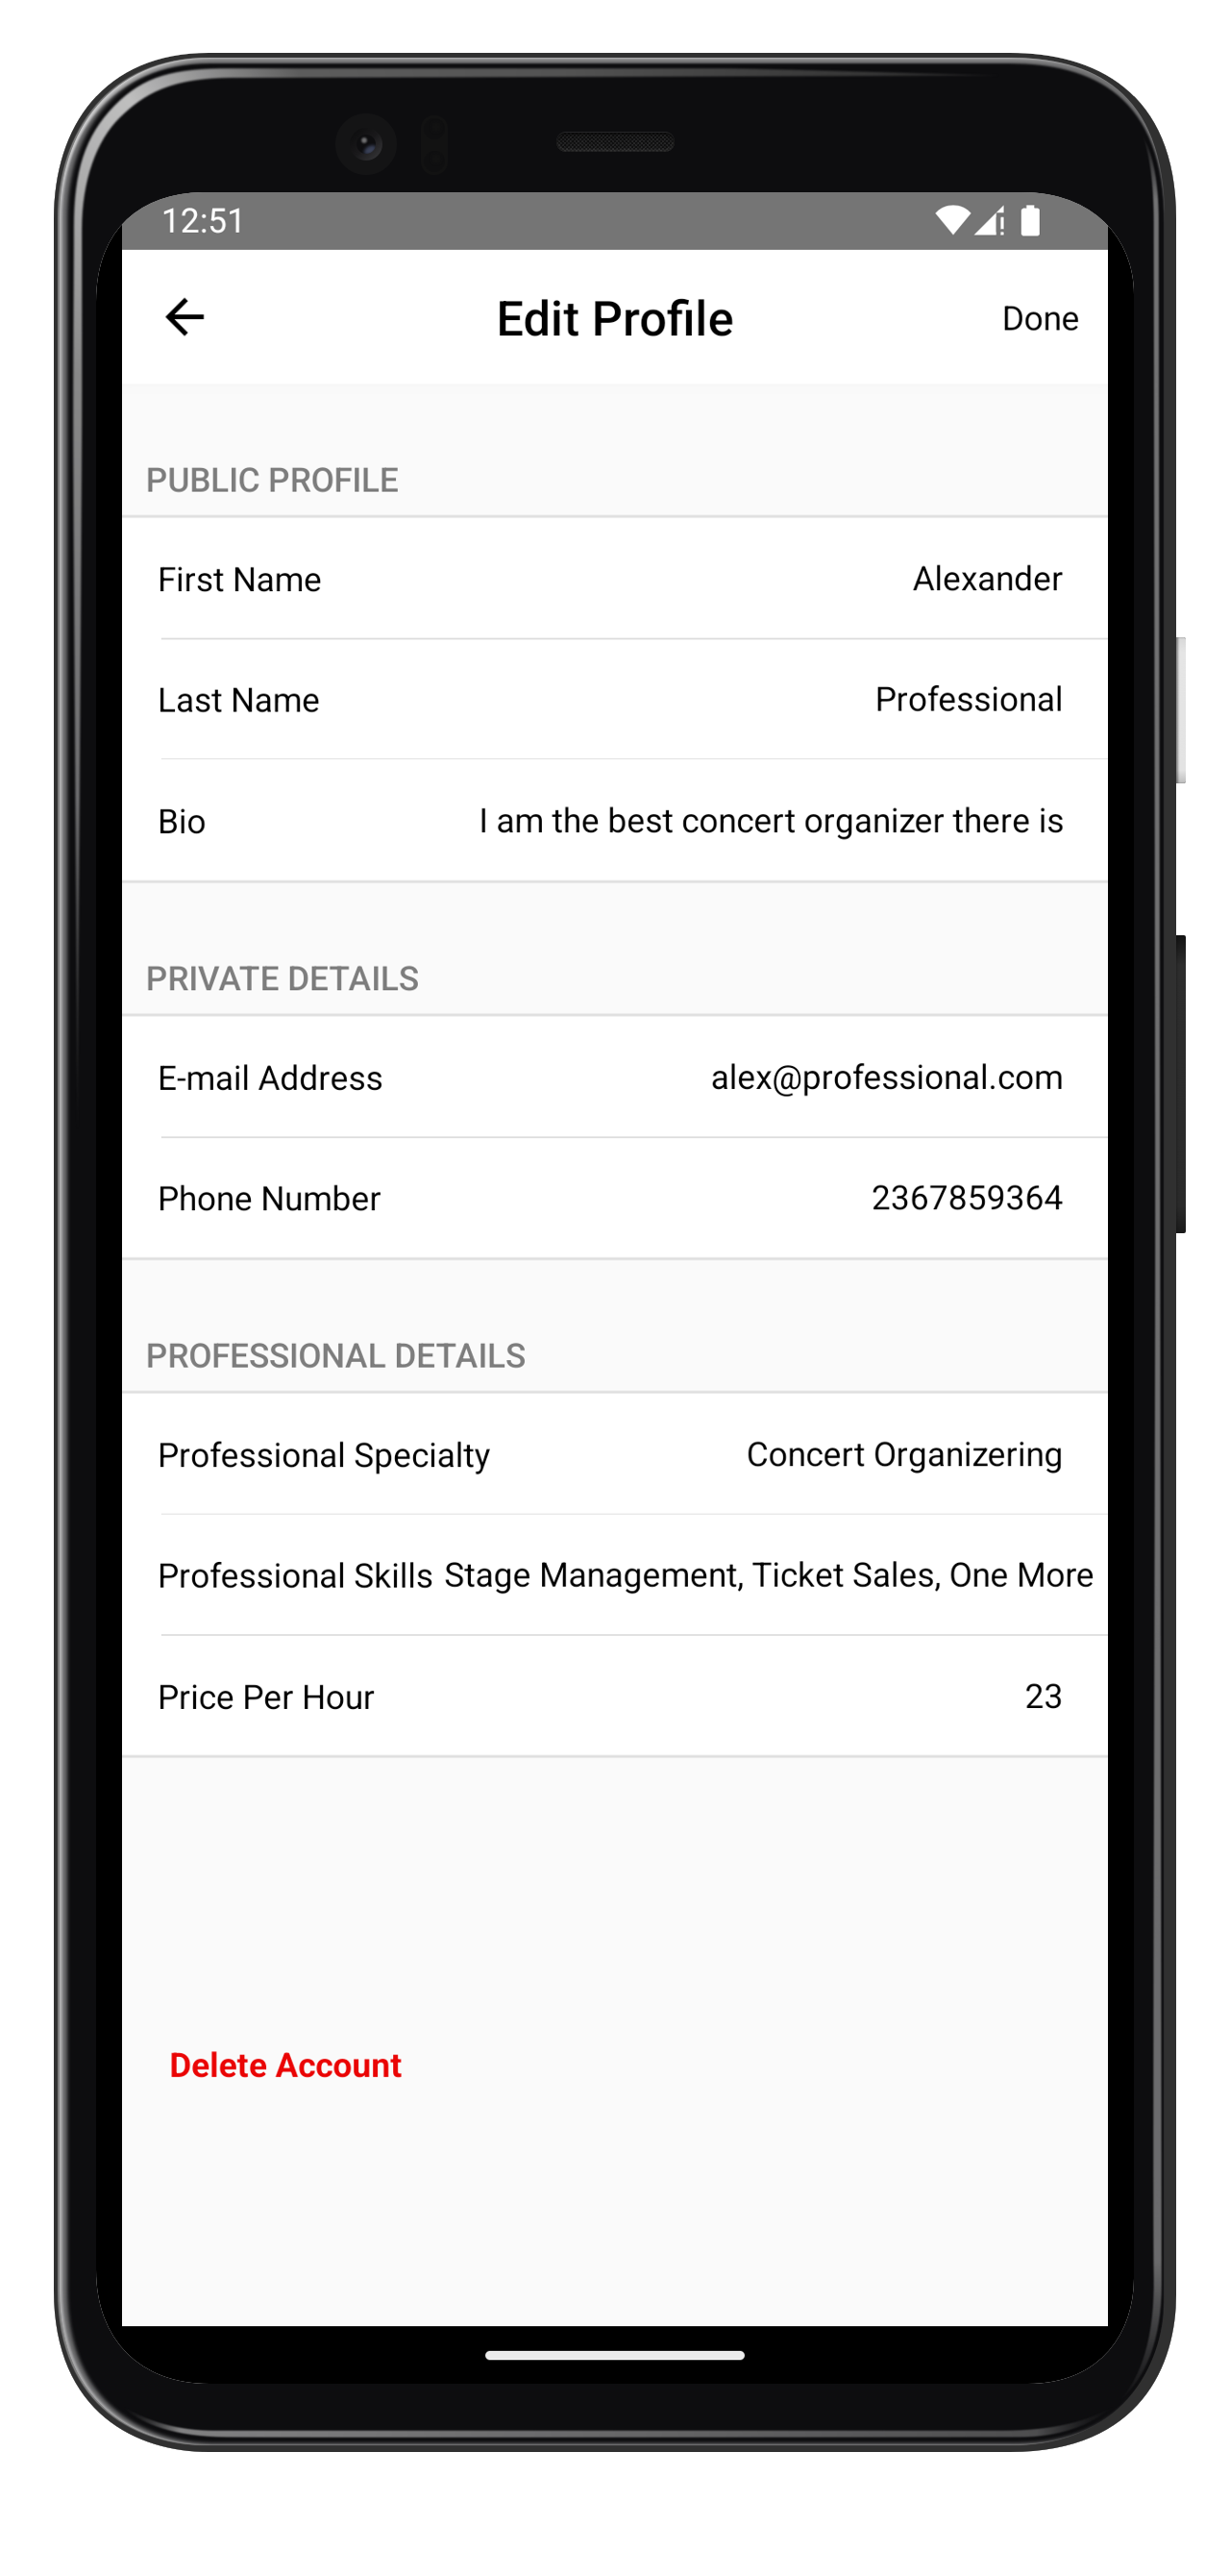
The Professional can login and then head to
Account Detailsto complete their profile. Afterward you should see this fields under the user document:professionalSpecialty: Their area of expertiseprofessionalSkills: Array of skill objects, each containing:displayName: Skill nameid: Unique identifier
Your Booking App is now ready for both customer and professional use.